TCMS (RangeeOS) - Deployment as a virtual machine (VM)
This HowTo describes how to install RangeeOS in a virtual environment as a VM.
Estimated time required: Approximately 10 minutes after downloading the image.
- Step 1 - Downloading the ISO image
- Step 2 - Provisioning the ISO file
- Step 3 – Installation
- Step 4 – Pre Setup Wizard
- Step 5 - Next Steps
- Note
Step 1 - Downloading the ISO image
The ISO file for installing RangeeOS or TCMS is available upon request from Rangee Support - please send an inquiry to support@rangee.com.
In order for us to provide you with a customized download link for the appropriate ISO file, please include the following minimum information in the email:
- Your company name
- For TCMS, additional information on where you purchased your device with RangeeOS
Step 2 - Provisioning the ISO file
For installation on VMware vSphere, Microsoft Hyper-V, or Proxmox VE, you can find instructions for creating the virtual machine here:
Installation is also supported on almost all other hypervisors. The VM requires the following minimum requirements:
- Min. 2 vCPU
- Min. 4GB RAM
- HDD:
- SATA or IDE disk mode
- (RangeeOS) min. 8GB HDD, 32GB if Fastboot is to be used
- (TCMS) Min. 8GB HDD, 32GB recommended
If you want to install RangeeOS / TCMS on hardware, you can transfer the ISO file to a USB stick using tools such as Rufus, Unetbooting, or similar. See more about this here:
RangeeOS - Installation von einem USB-Stick
Step 3 – Installation
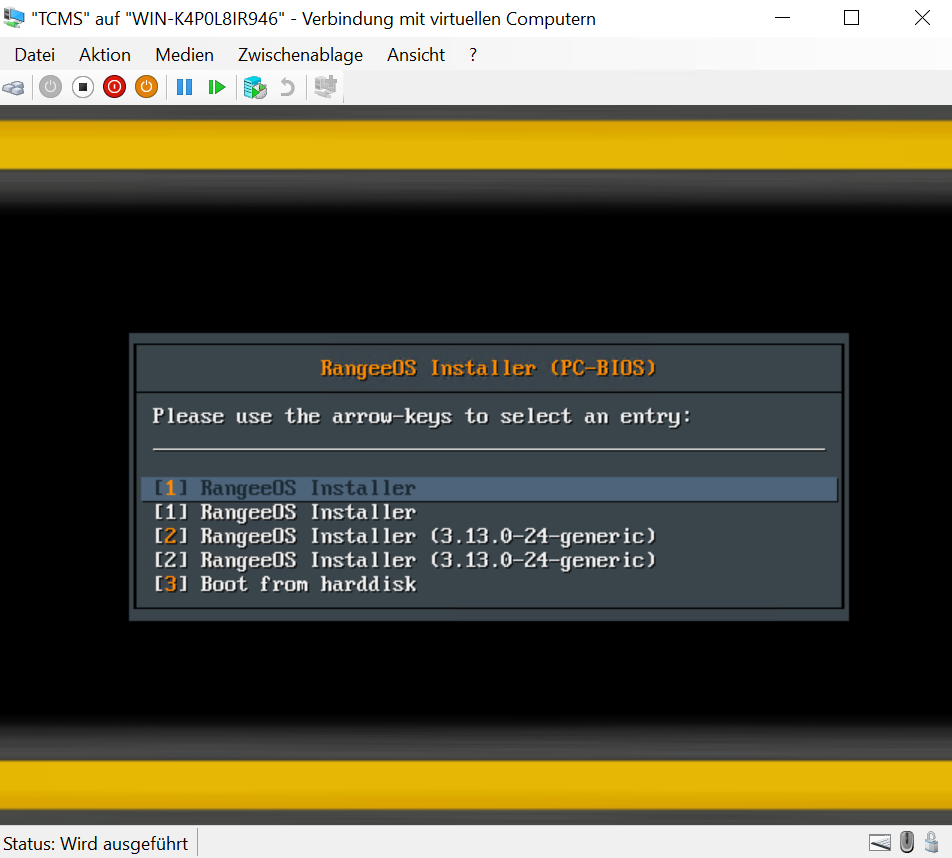
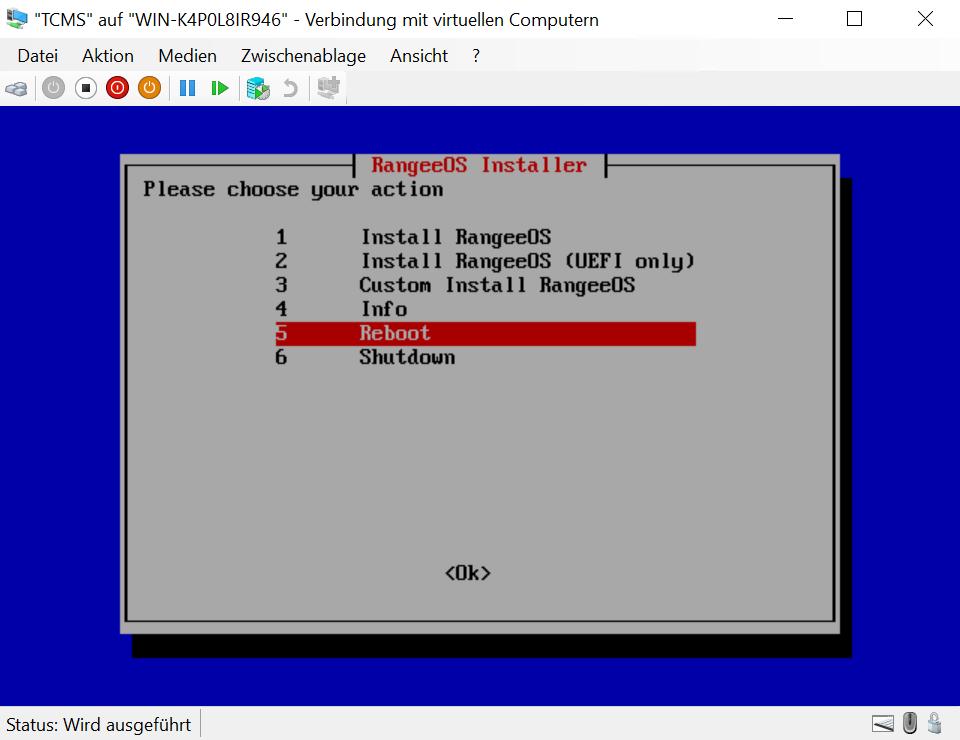
- Boot from the ISO file and select the 'RangeeOS Installer'
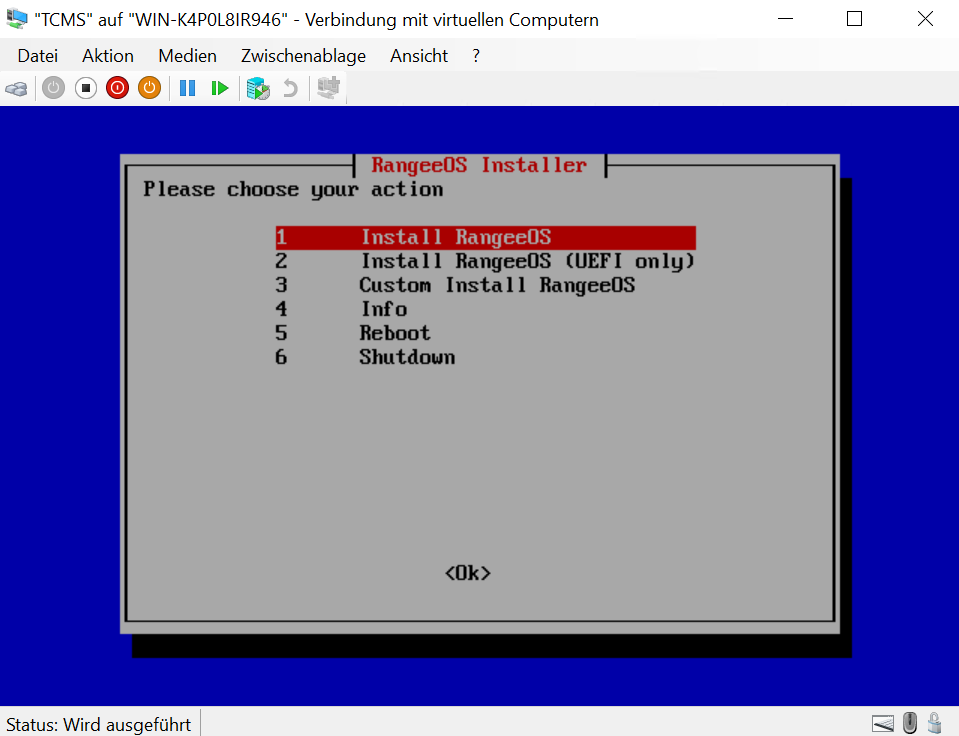
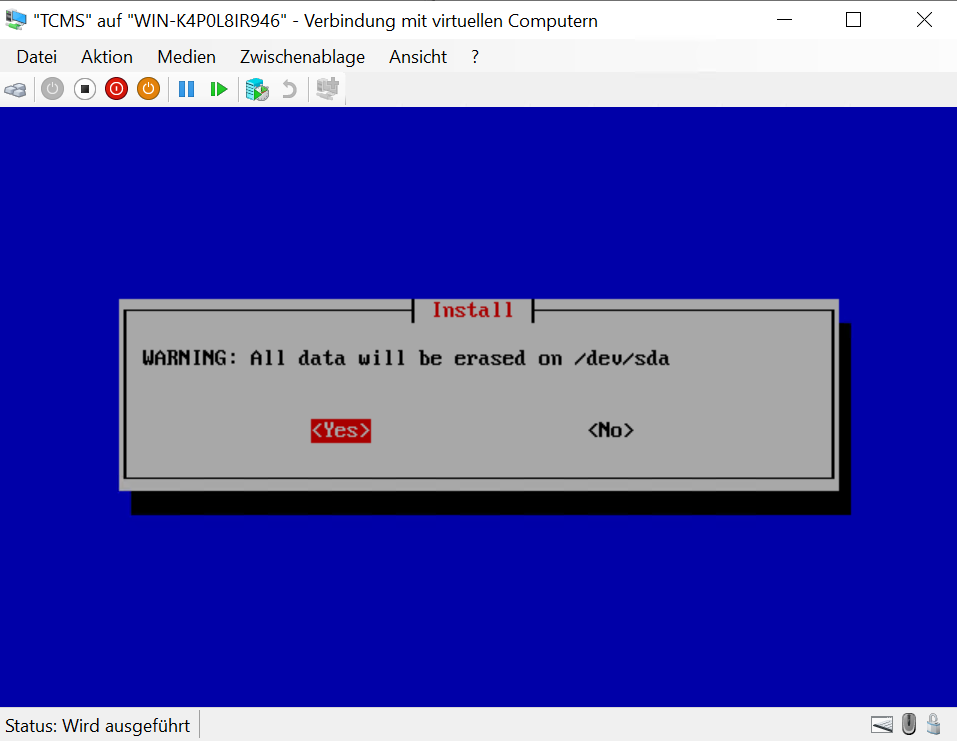
- Select 'Install RangeeOS' and confirm the proposed disk (usually /dev/sda) for installation.
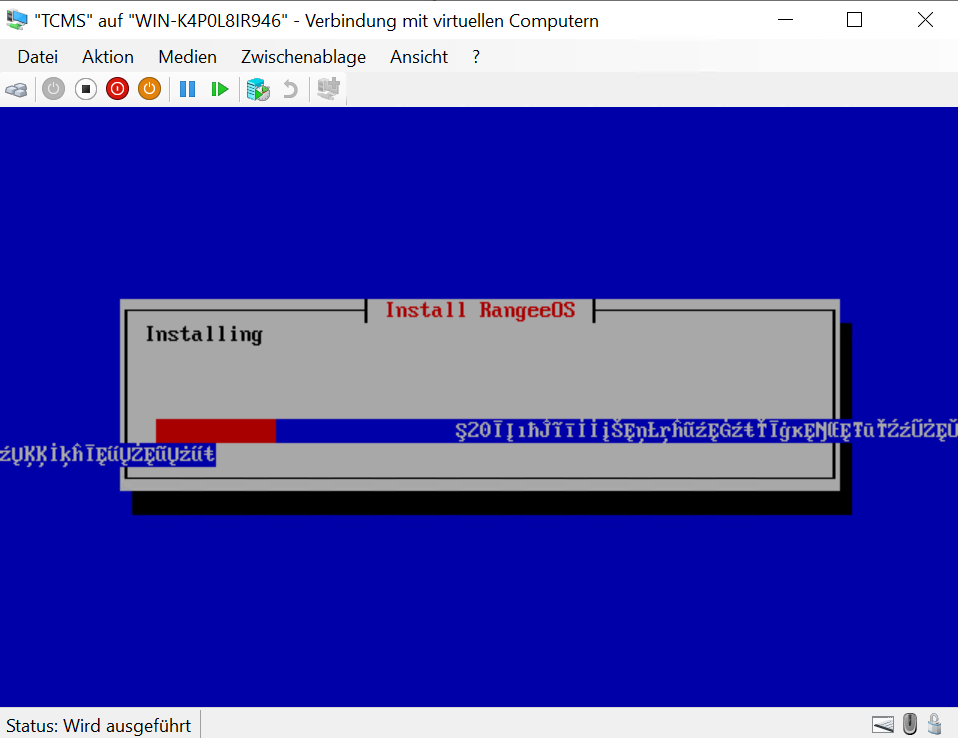
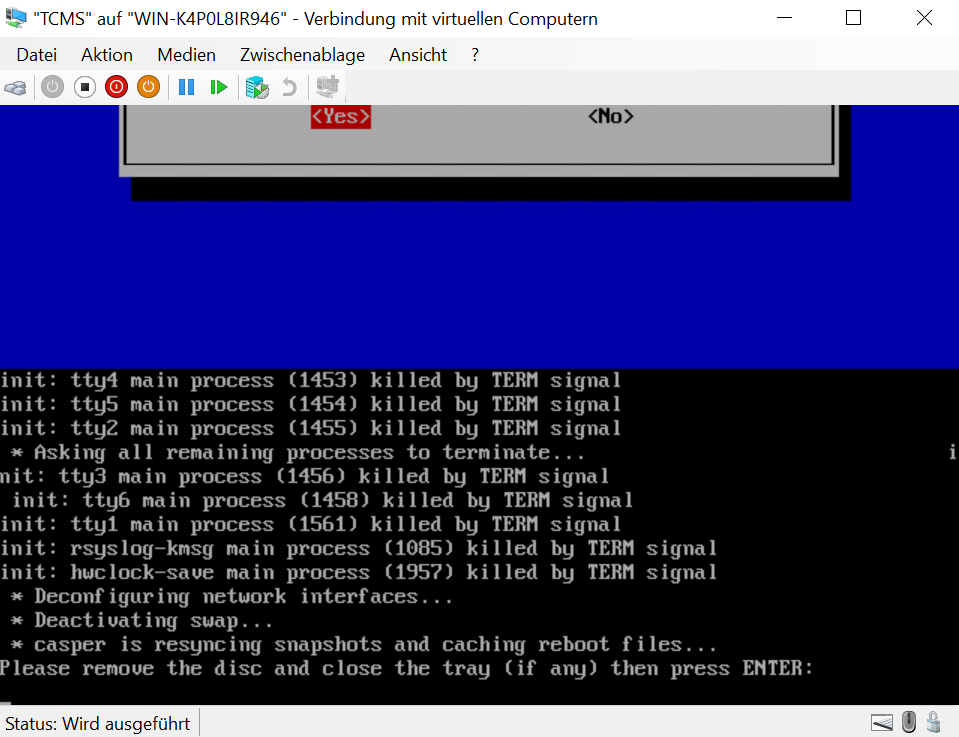
- Wait until the installation is complete. Text characters appearing during the installation process can be ignored.
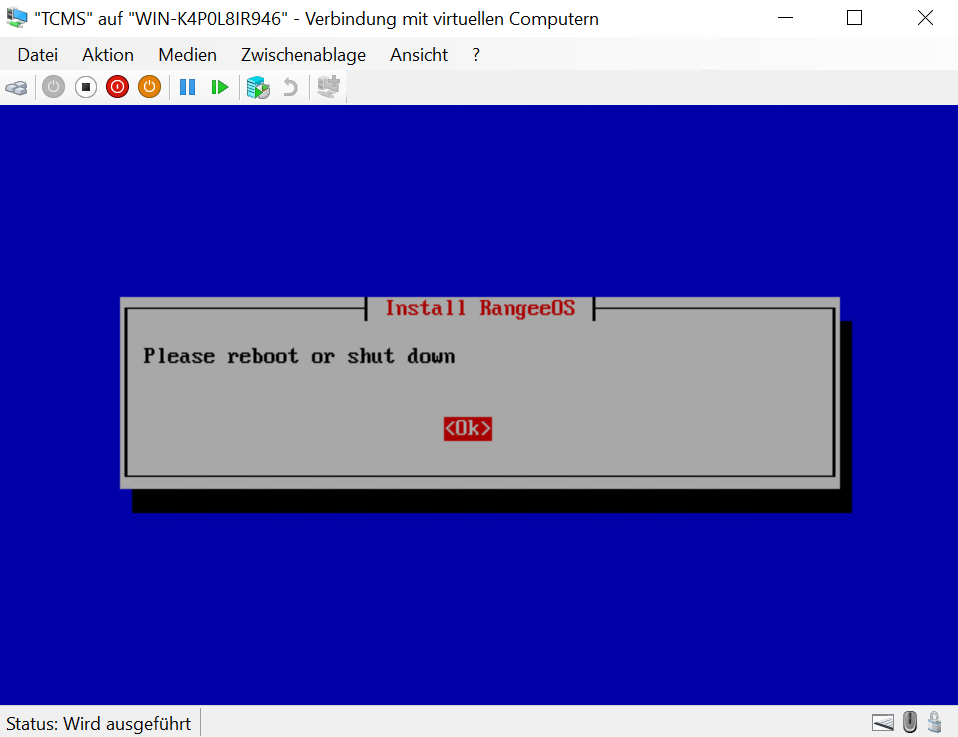
- Finally, select 'Reboot' and confirm that the CD-ROM drive has been ejected.
- The VM will then start into a "Pre Setup Wizard".
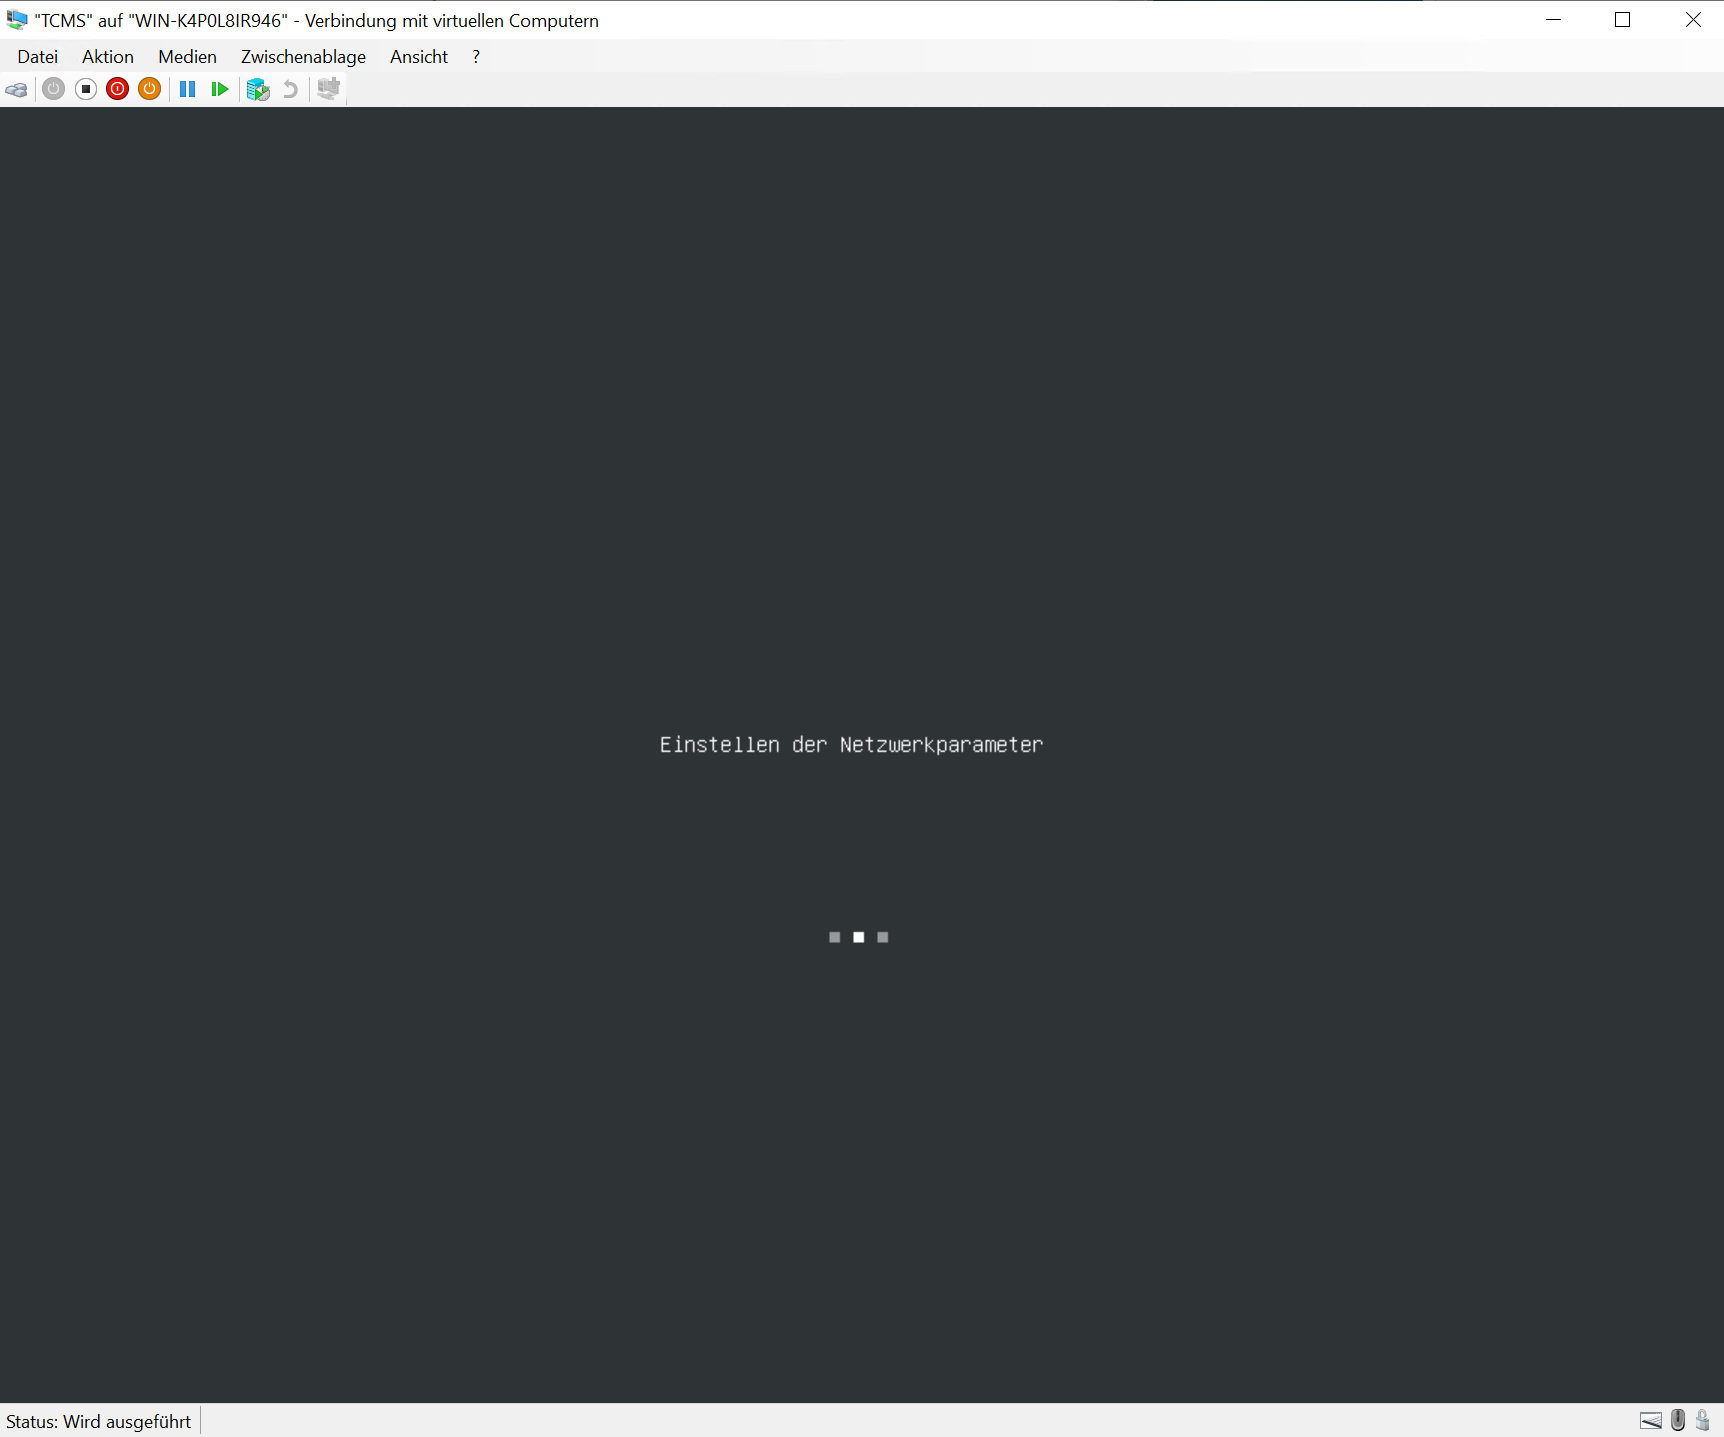
Step 4 – Pre Setup Wizard
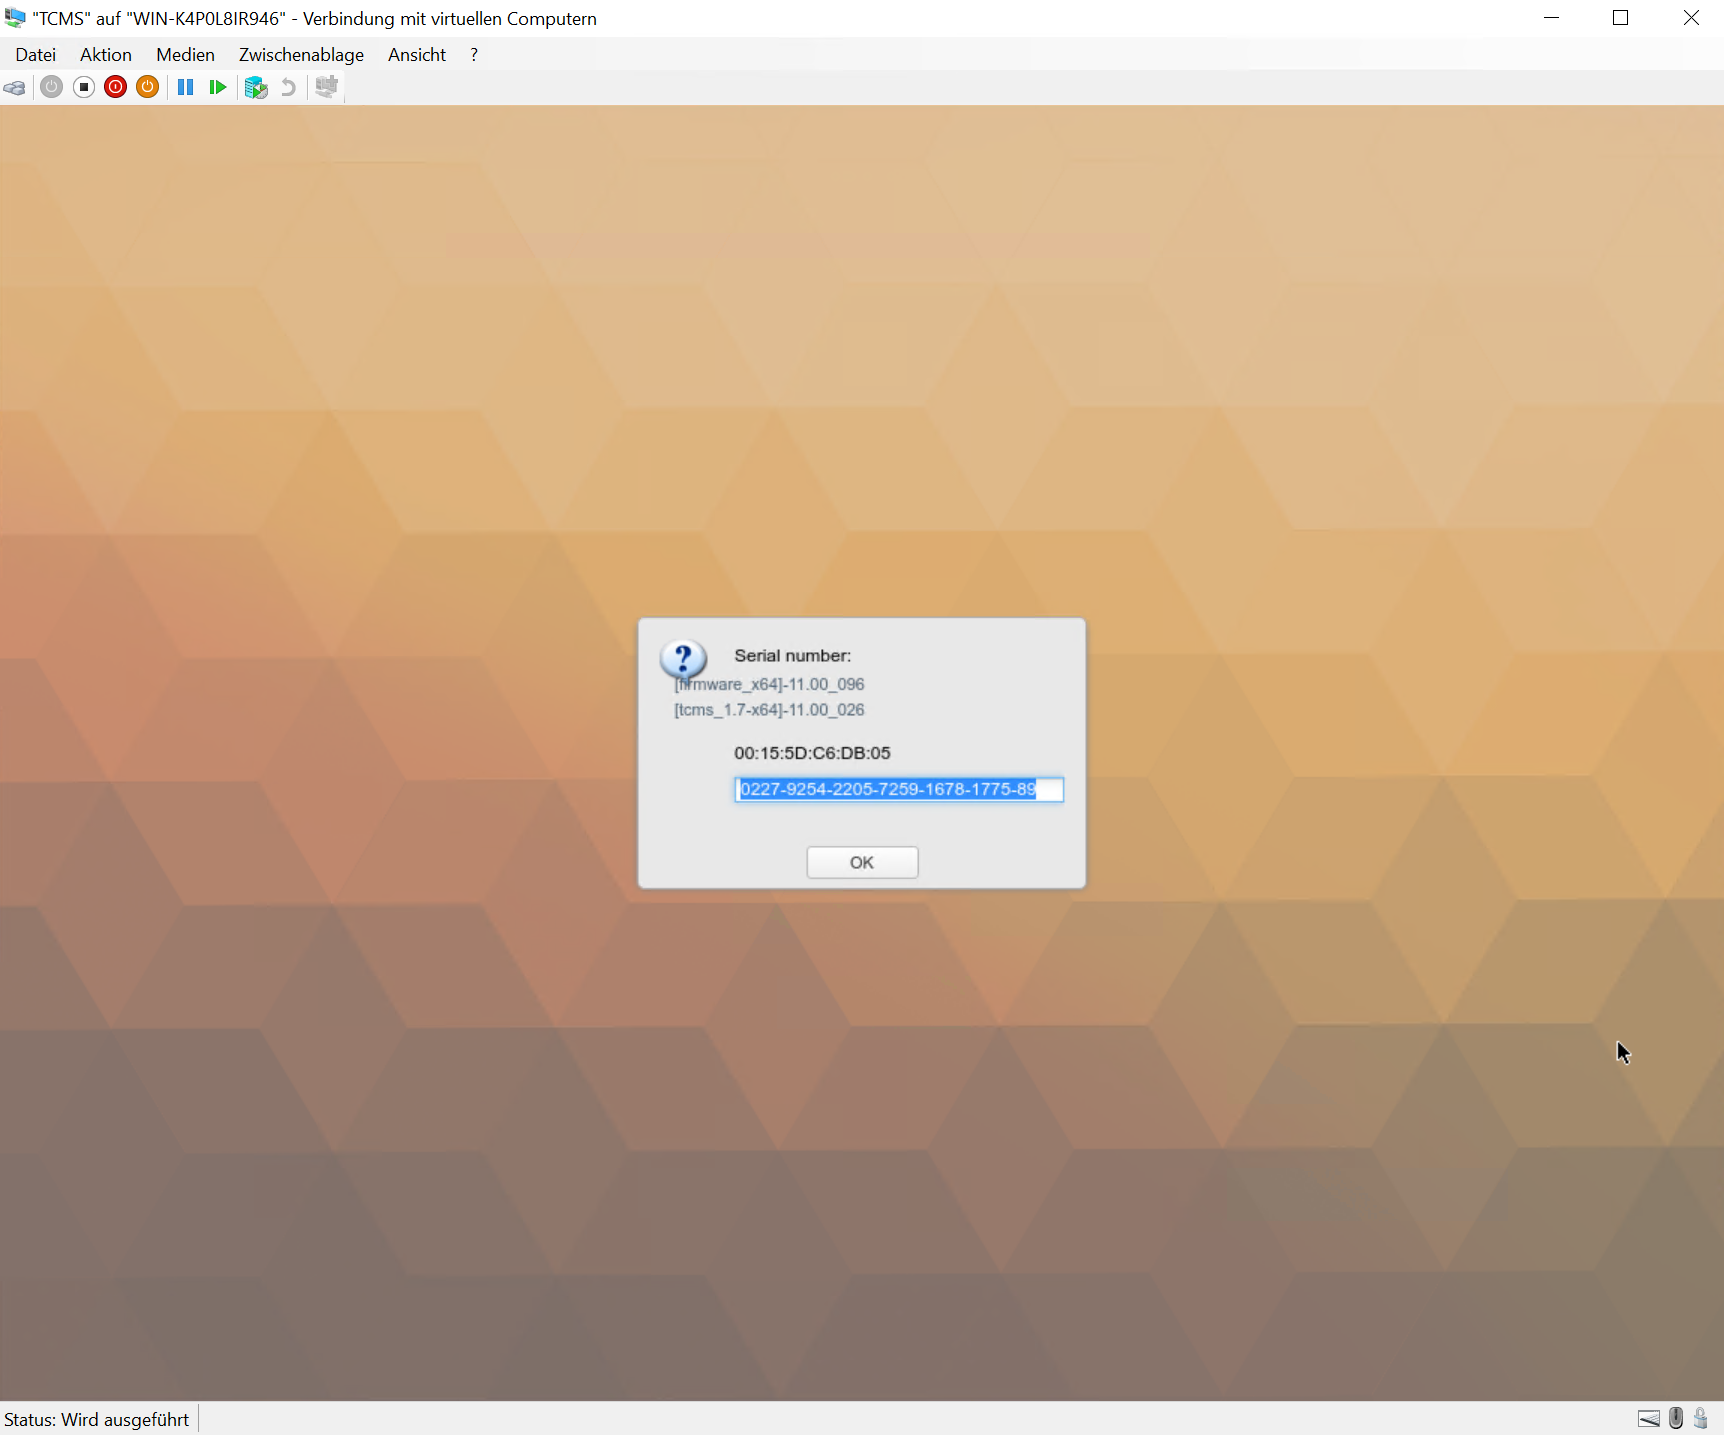
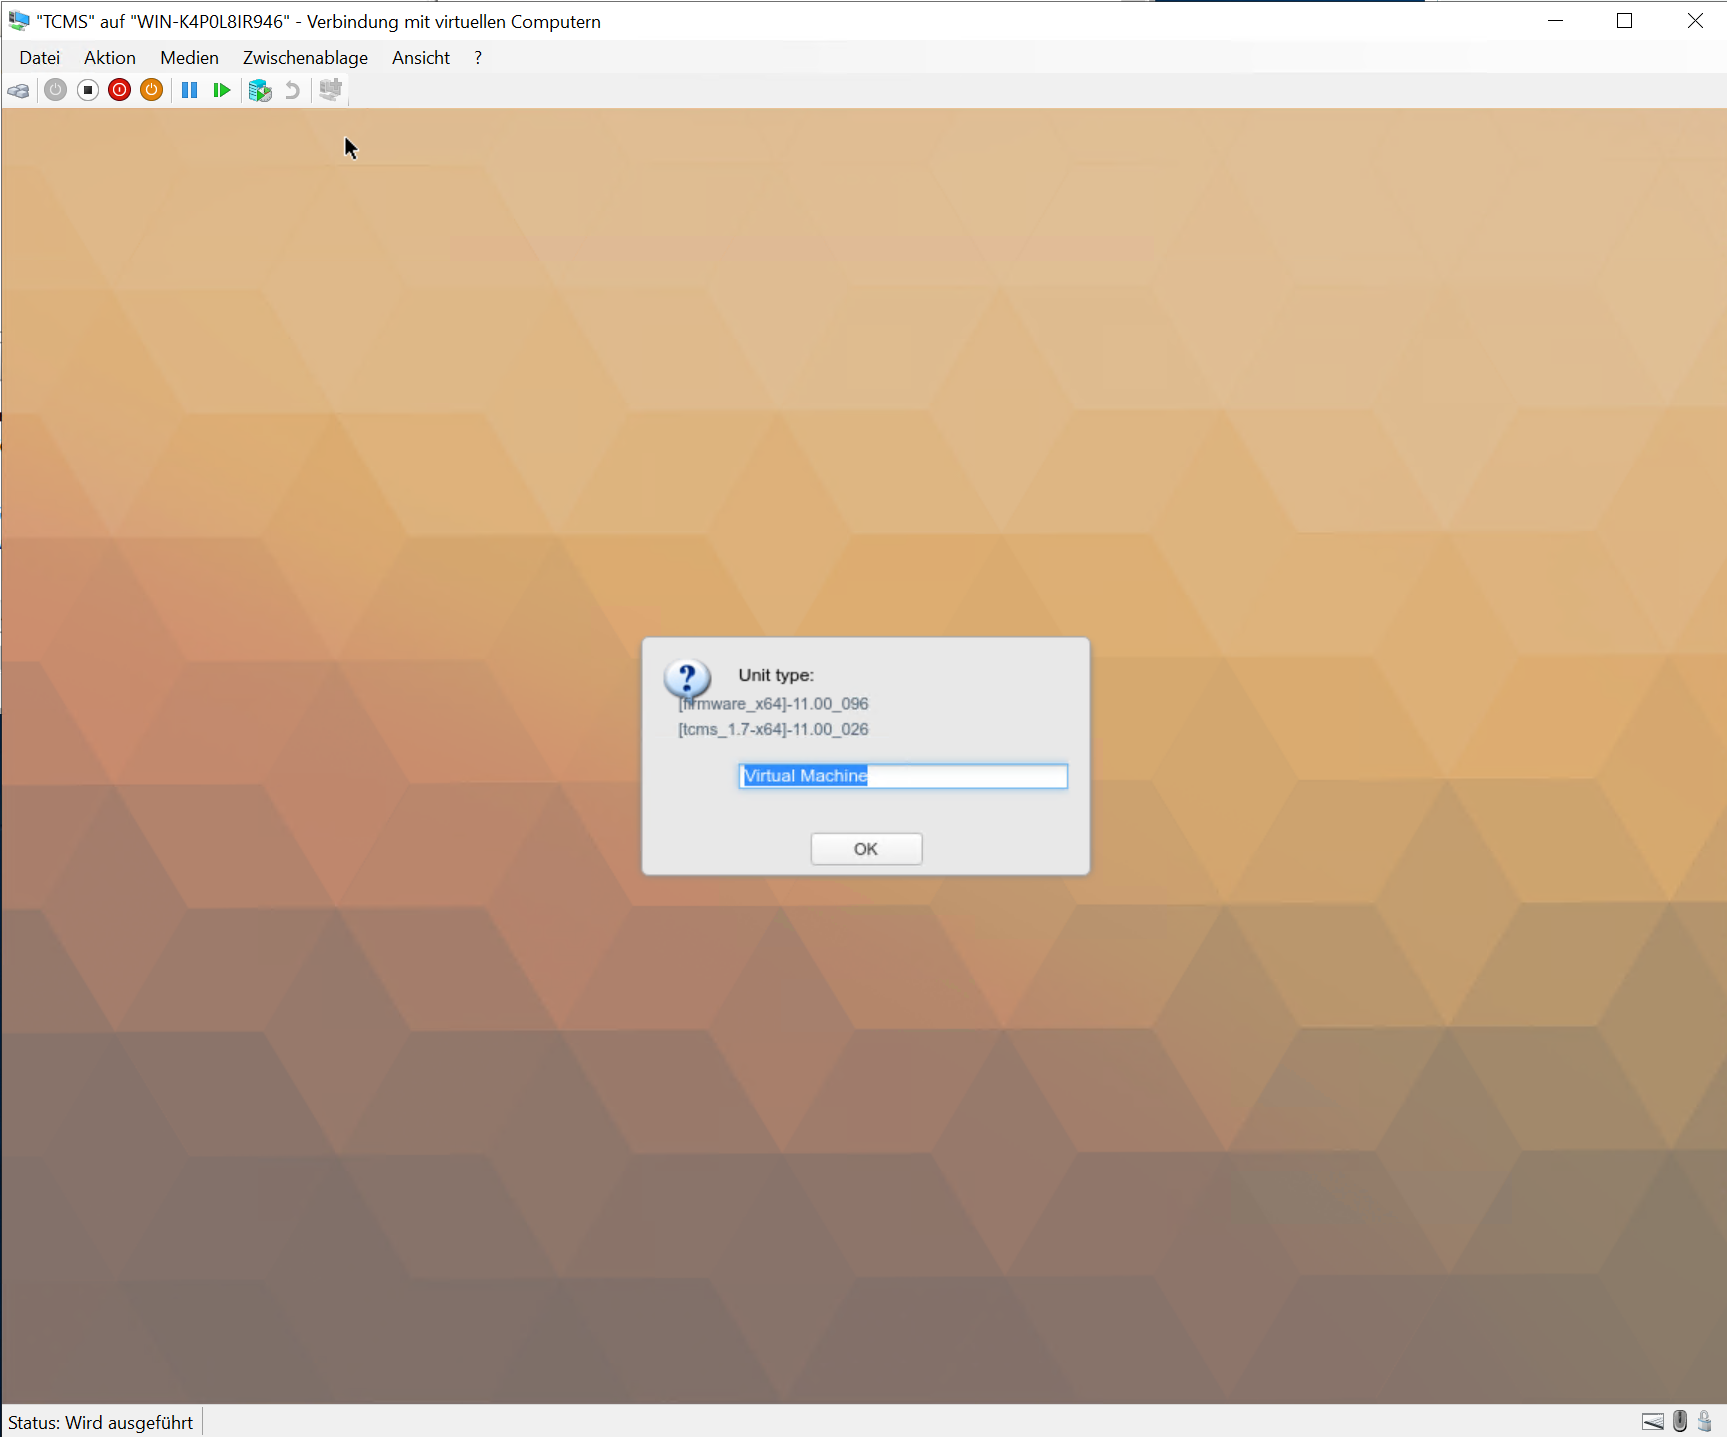
Upon the first boot of a newly installed RangeeOS (also TCMS), various device data will be requested:
- Unit Type
- Serial number
These data can be freely chosen and do not have any license-related background. They can be read later via the TCMS Kommbox.
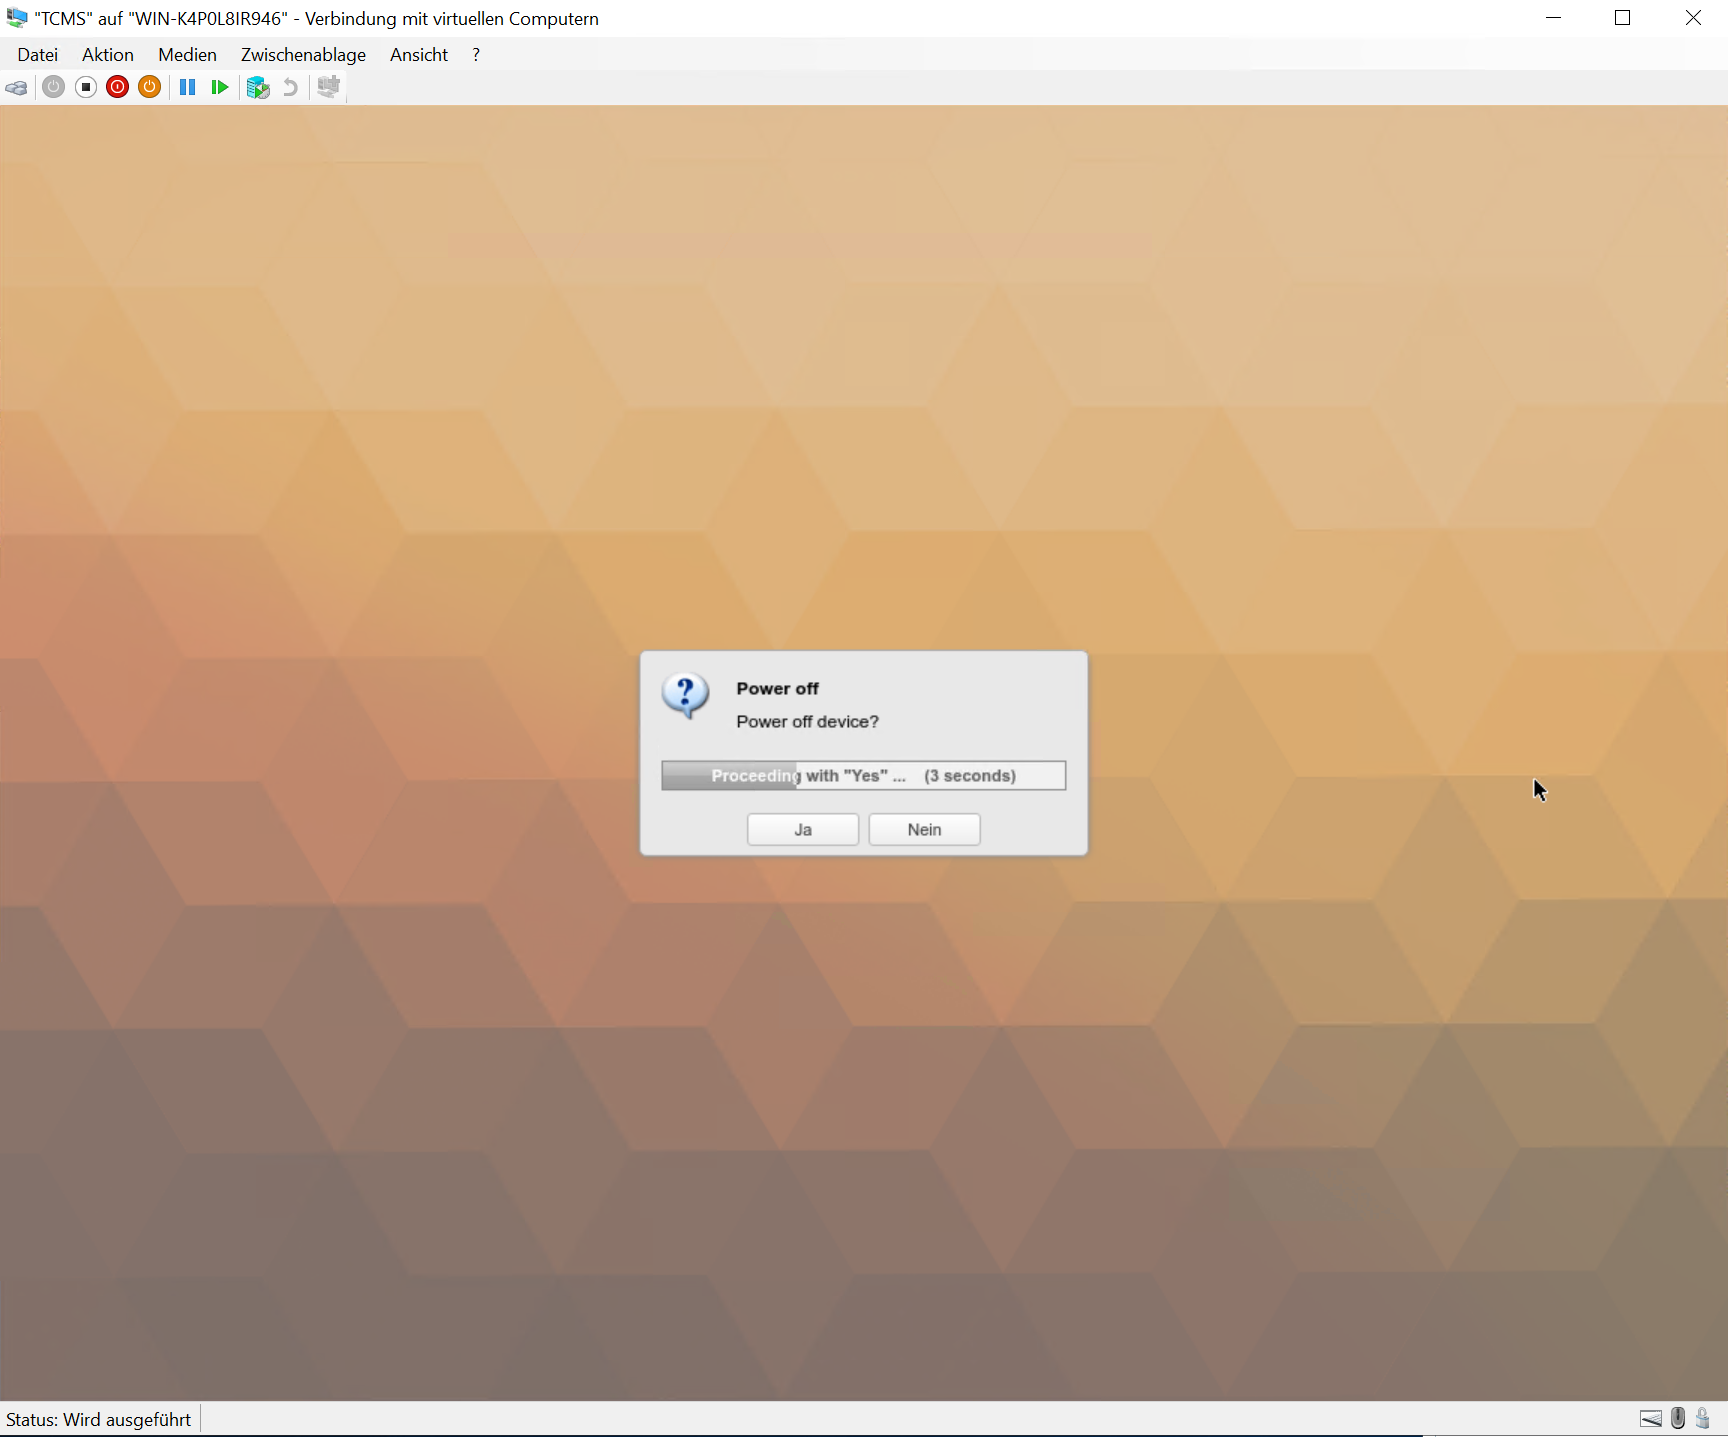
After entering the data, TCMS automatically attempts to retrieve a license and then shuts down automatically. The installation is now complete.
|
|
|
Step 5 - Next Steps
All further details regarding the use of RangeeOS can be found in our RangeeOS Manual.
All further details regarding the use of TCMS can be found in our TCMS Manual.
Note
The entire management interface of RangeeOS as well as TCMS is web-based and can be accessed with any browser.
Simply open the page 'https://%IP or hostname of the OS%' for Kommbox or 'https://%IP or hostname of the OS%/tcms' for TCMS.