TCMS - Installation auf Hyper-V
Dieses Handbuch erläutert, wie eine virtuelle Maschine für unseren Thin Client Management Server unter Hyper-V vorbereitet wird.
- Schritt 1 – Erstellung der virtuellen Maschine:
- Schritt 2 – Anpassung der Hardware
- Schritt 3 – Installation
- Schritt 4 – Nach der Installation
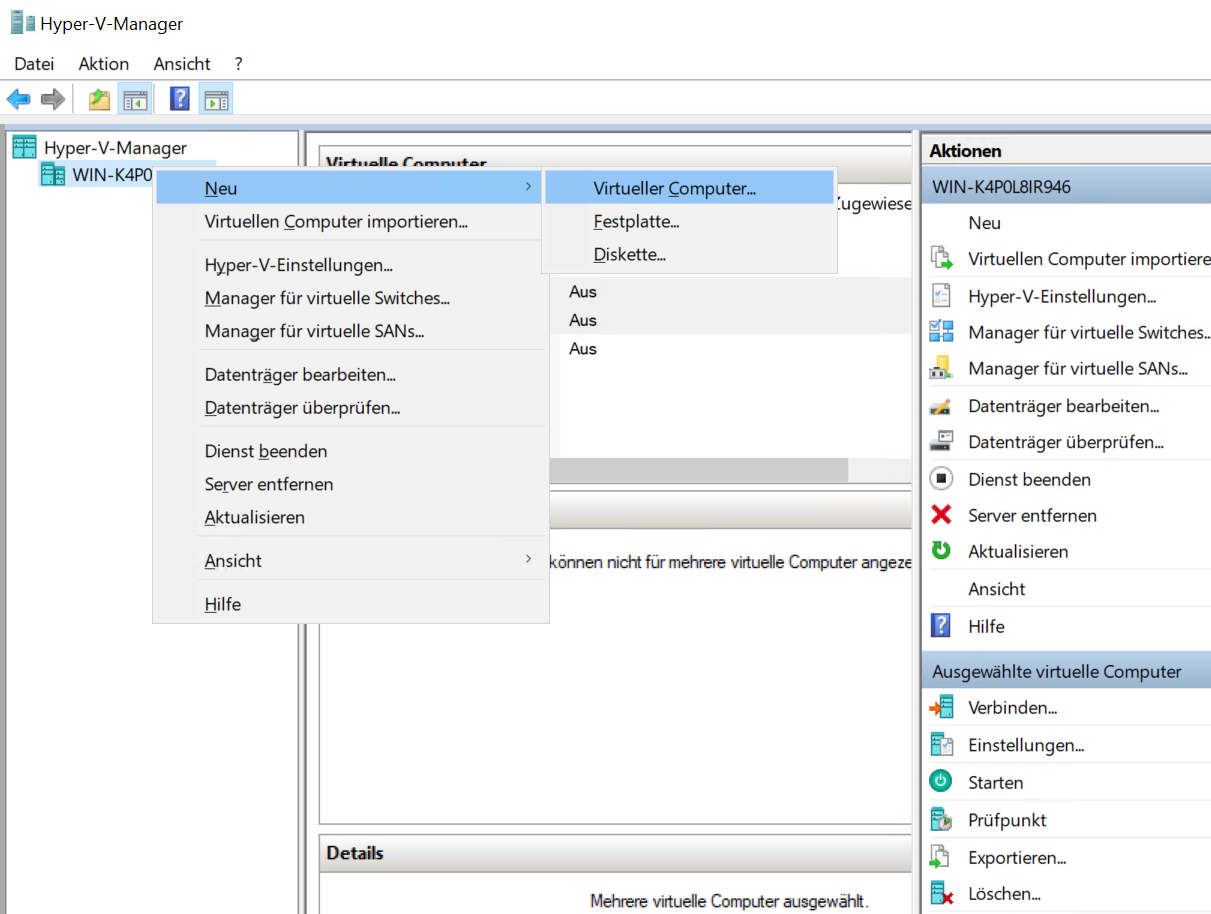
Schritt 1 – Erstellung der virtuellen Maschine:
Öffnen Sie den Hyper-V-Manager und erstellen Sie eine neue virtuelle Maschine, indem Sie beispielsweise mit der rechten Maustaste auf den Namen des Hosts klicken und anschließend zu Neu… → Virtueller Computer navigieren:
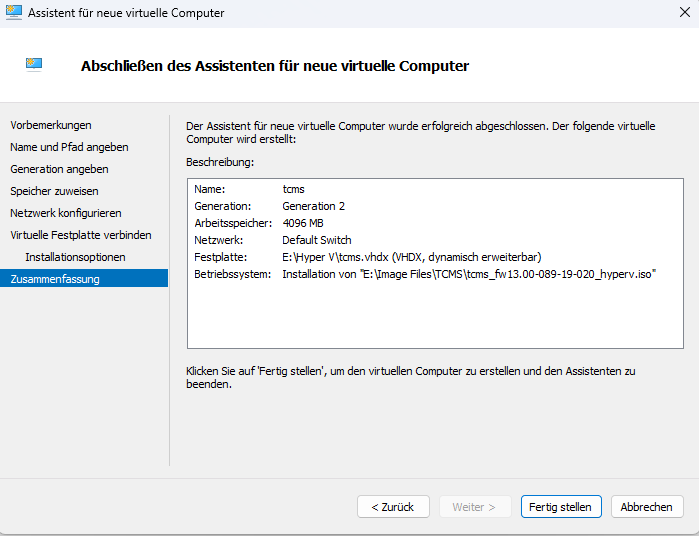
- Weisen Sie der virtuellen Maschine einen Namen zu
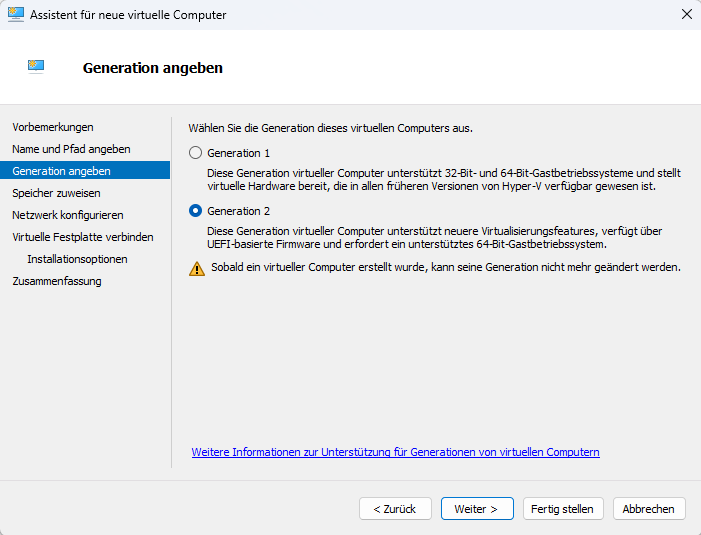
- Wählen Sie Generation 2
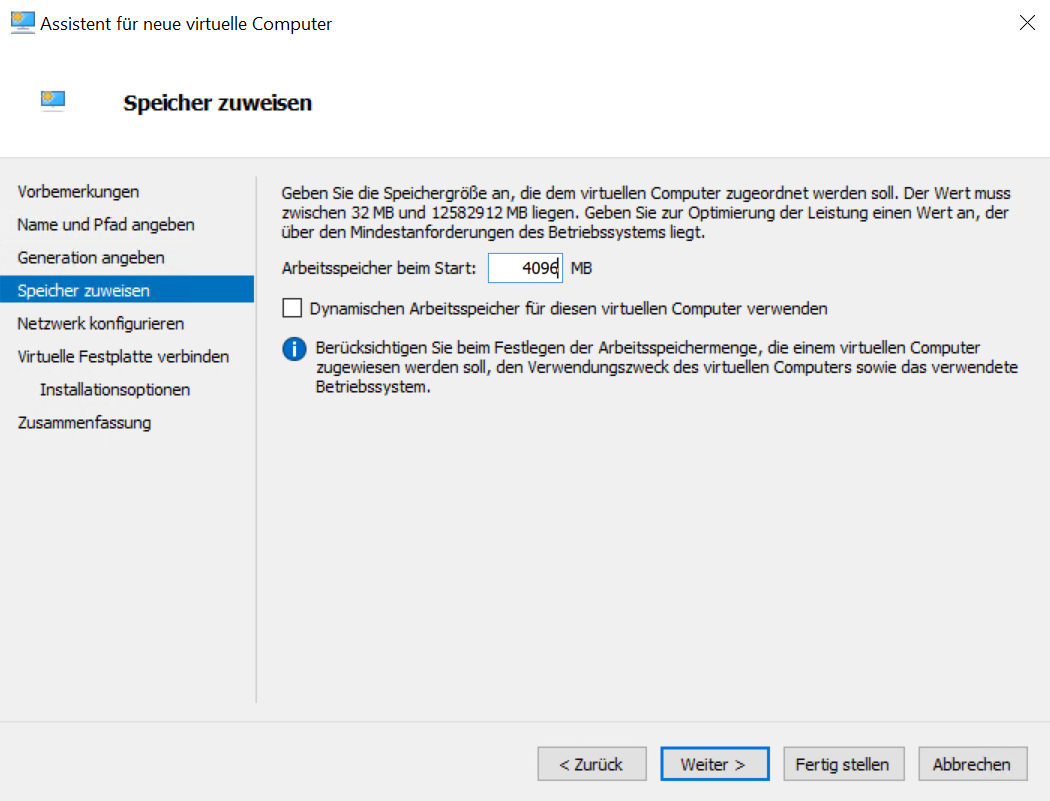
- Weisen Sie 4 GB Arbeitsspeicher zu
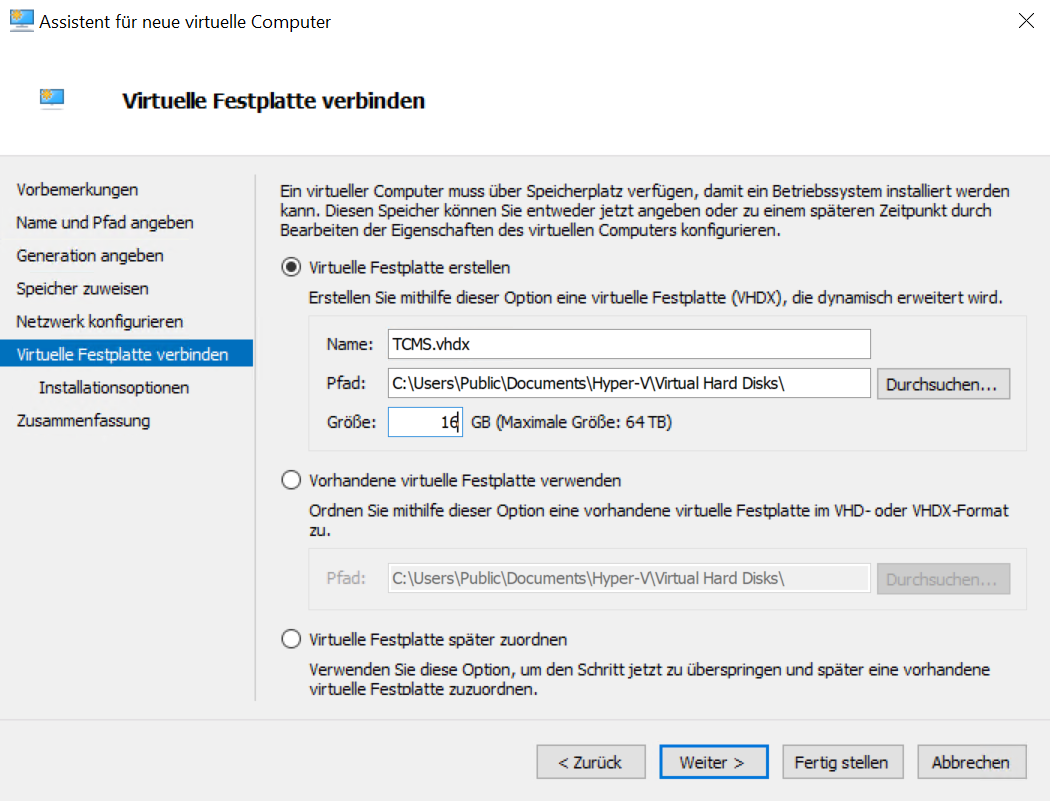
- Erstellen Sie eine neue Festplatte mit mindestens 16 GB (empfohlen 32 GB)
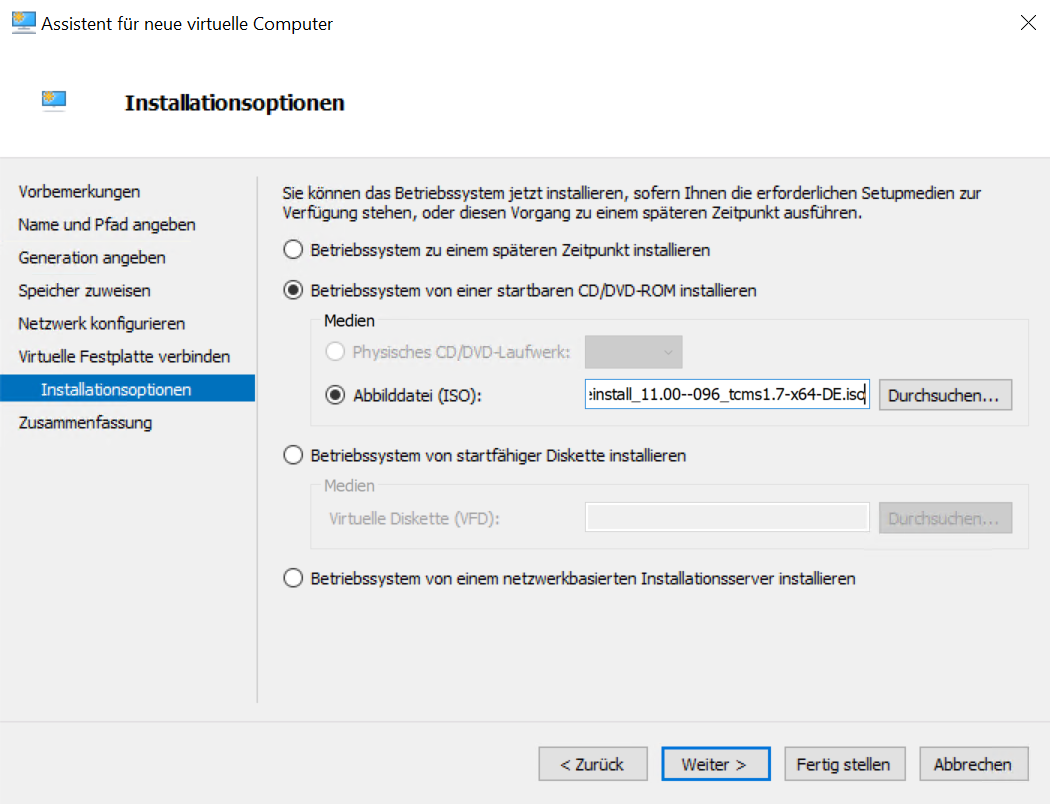
- Im Schritt Installationsoptionen können Sie die heruntergeladene ISO-Datei bereits als Startmedium auswählen
|
|
|
|
|
|
Schritt 2 – Anpassung der Hardware
Nachdem die virtuelle Maschine erstellt wurde, müssen Sie auf deren Hardwareeinstellungen zugreifen. Klicken Sie mit der rechten Maustaste auf die virtuelle Maschine und wählen Sie anschließend Einstellungen.
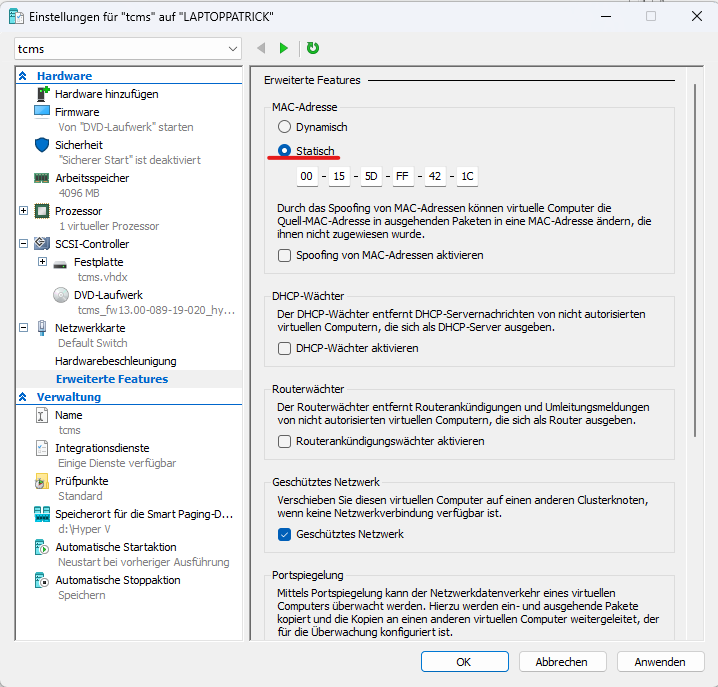
Klicken Sie auf Netzwerkkarte, dann auf Erweiterte Funktionen, und legen Sie die MAC-Adresse auf statisch fest. Dies ist erforderlich, da die Lizenz an diese MAC-Adresse gebunden ist; andernfalls würde sie bei jedem Neustart verloren gehen.
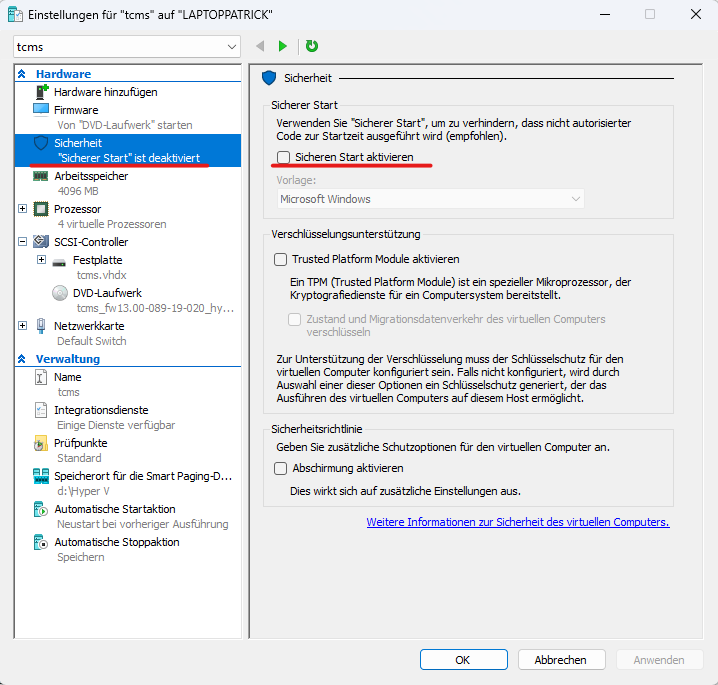
Klicken Sie anschließend auf Sicherheit und deaktivieren Sie den sicheren Start.
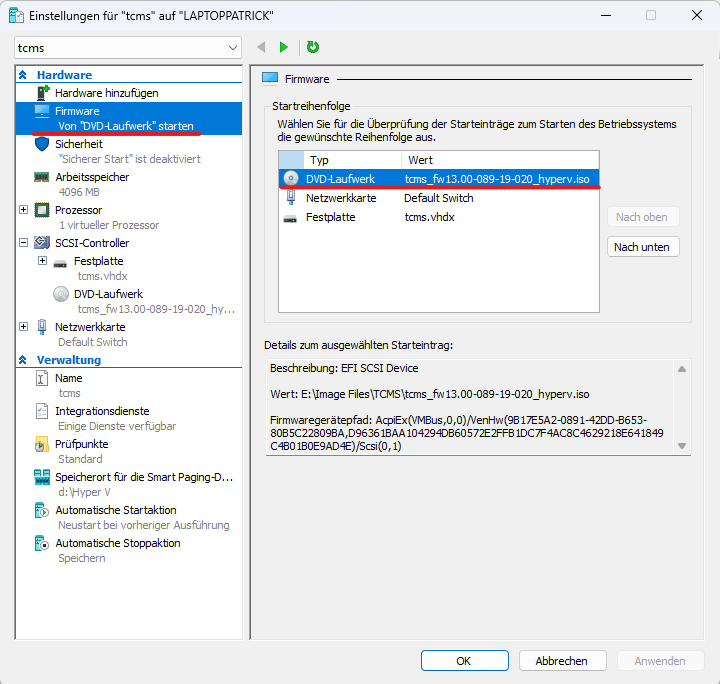
Und konfigurieren Sie im Startreihenfolge-Menü das DVD-Laufwerk, indem Sie es ganz nach oben setzen.
Schritt 3 – Installation
Folgen Sie anschließend dem Installationsablauf wie in TCMS – Installation – Schritt 3 beschrieben.
Schritt 4 – Nach der Installation
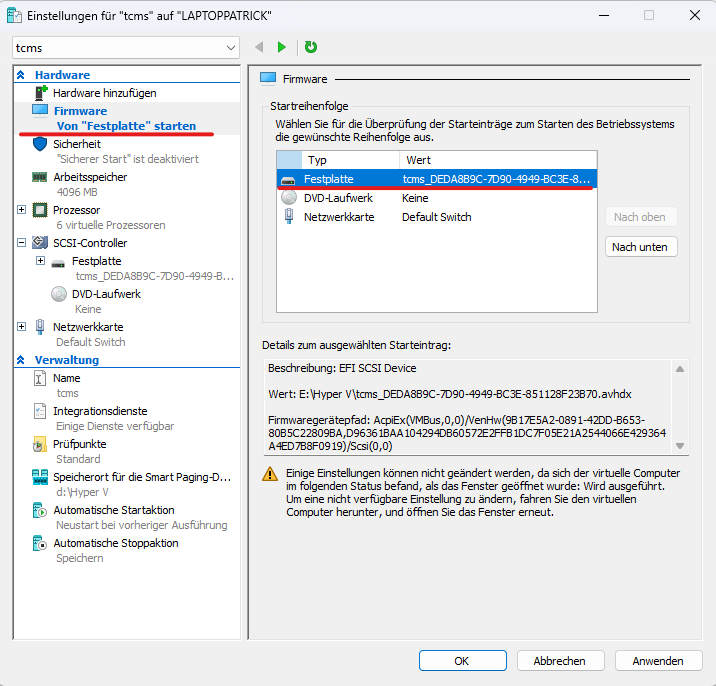
Nach der Installation konfigurieren Sie die Festplatte an erster Stelle in der Startreihenfolge.
Wenn die virtuelle Maschine nach der Installation beim ersten Start auf dem folgenden Bildschirm hängen bleibt, senden Sie einfach den Befehl Strg+Alt+Entf an die VM.