RangeeOS - Take Screenshots
With Rangee OS, it is possible to create screenshots for further use in several ways. You can either use the integrated firmware tool or additionally install the software package Flameshot (https://flameshot.org/).
Integrated Screenshot Tool
The screenshot function included in the firmware can be found under
Peripherals
→
Screenshots
. 
Here, you can configure the following options for the "PRINT" key, the "CTRL+SHIFT+P" combination, and/or the "CTRL+SHIFT+ALT+P" combination:
| Enable | Activates the selected key combination. | Restart required |
| Capture Area | Defines the area to be captured. The following options are available:
If "Selected area" is chosen, the mouse cursor turns into a crosshair after pressing the defined combination, allowing you to select a specific area by holding and dragging the mouse. |
| Action | Defines what happens to the created screenshot. The following options are available:
|
| Drive for Screenshots | Here you can specify on which drive the screenshot should be saved. Configuration of drives is described here: |
| Image File Type | Select the desired image format for the screenshot. Available formats: Bitmap, GIF, JPEG, PDF, PNG, and TIFF. |
| Use Default Printer | If this option is selected in combination with the "Print" action, the screenshot will always be printed on the system’s default printer. |
| Printer | Select a specific printer for the "Print" action. |
Flameshot
Through the software update function, you can additionally install the open-source screenshot tool Flameshot (https://flameshot.org/).
If the module is not available for installation, please contact our support team at support@rangee.com.
After installation, the module can be configured under
Connections & Applications
→
Flameshot
.
The following module-specific options are available:
- Enable Flameshot / Connection name
- Custom command line parameters
Additional settings for automatic startup and icon configuration follow the firmware defaults and are identical to all other software modules. 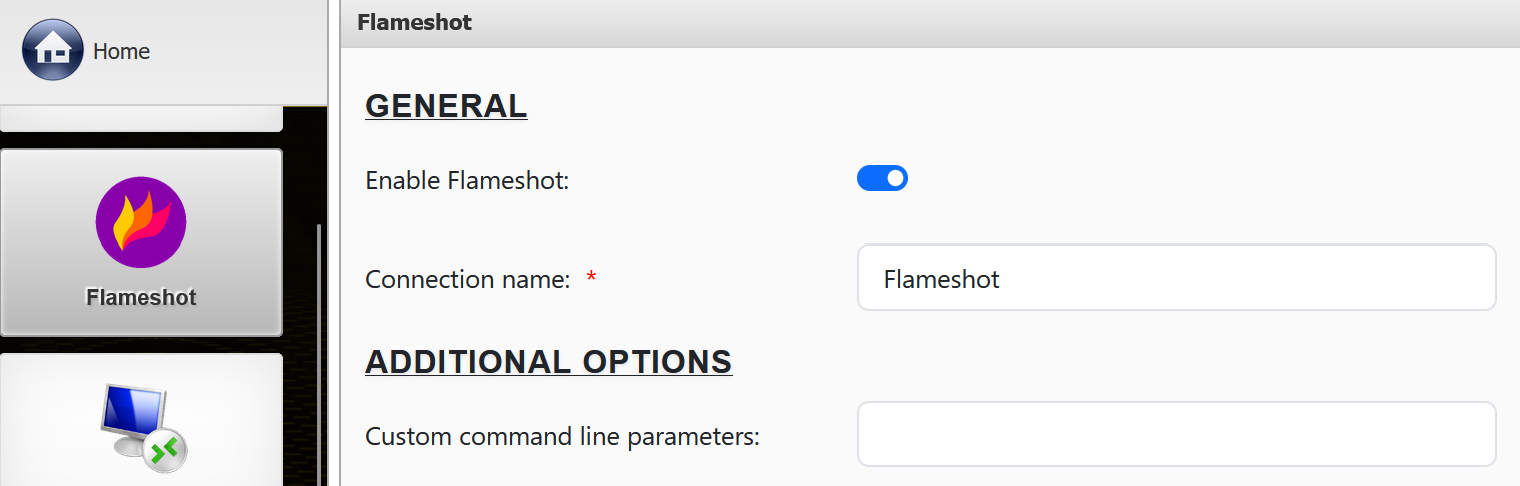
Once started, Flameshot is controlled and configured via a tray icon. 
Right-clicking the icon opens the configuration area. A left-click immediately starts capturing a selected screen area. After selecting an area, you can choose from various options to edit and save the image. 
For more information about Flameshot, please refer to the official program documentation:
https://flameshot.org/docs/overview/overview/