RangeeOS - Microsoft Defender einrichten
Es ist möglich, den Microsoft Defender for Endpoint unter RangeeOS zu installieren und einzurichten.
Installation
Installieren Sie auf Ihrem Thin Client oder TCMS das Softwaremodul microsoft-defender_24082.0001-x64.
Hinweise zur Installation von Updates finden Sie hier: RangeeOS - Firmware13 - Update / Upgrade / Downgrade
Falls Ihnen das Softwaremodul noch nicht zum Download angeboten wird, wenden Sie sich bitte zur Freischaltung an: support@rangee.com
Konfiguration
Nach der Installation können Sie den Defender über Verbindungen & Anwendungen -> Microsoft Defender for Endpoint konfigurieren.
Onboarding
Um den Client in Ihre Defender-Umgebung aufzunehmen, benötigen Sie das Onboardingpaket aus dem Microsoft Defender Portal:
https://learn.microsoft.com/de-de/defender-endpoint/linux-install-with-ansible#download-the-onboarding-package-applicable-to-both-the-methods
Die heruntergeladene ZIP-Datei enthält die Datei "MicrosoftDefenderATPOnboardingLinuxServer.py". Laden Sie diese Datei über die entsprechende Option auf Ihr Gerät.
Dieser Schritt ist auf jedem Gerät, auf dem der Defender genutzt werden soll, zu wiederholen.
Nach erfolgreichem Onboarden werden Ihnen unter "Informationen" der aktuelle Defender-Status angezeigt:
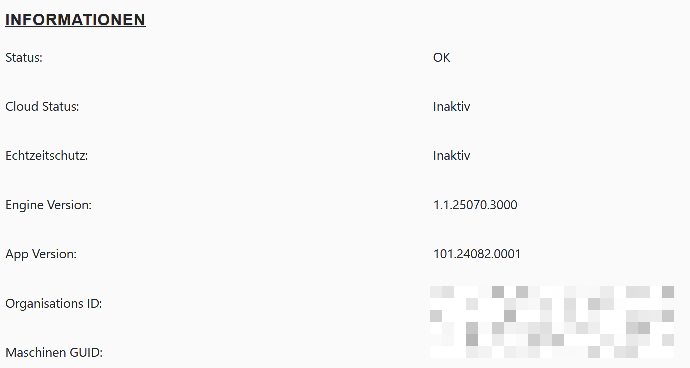
Der Client/TCMS taucht dann etwa 5–20 Minuten nach dem Onboarden auch online im Microsoft Security Center auf.
Optionen
Sobald der Client ongeboarded wurde, können Sie unter Verbindungen & Anwendungen -> Microsoft Defender for Endpoint folgende Aktionen ausführen:
- Microsoft Defender for Endpoint aktivieren: aktiviert den Defender-Dienst
- Cloud-Schutz aktivieren
- Cloud-Diagnosedatensammlung aktivieren
- Echtzeitschutz aktivieren
- Gerät abmelden: entfernt die Defender-Konfiguration (Offboarding)
- Protokolldatei: zeigt das Protokoll des letzten Scans an
- Schnell-Scan: führt einen schnellen Systemscan durch
- Vollständiger Scan: führt einen vollständigen Systemscan durch
Meldungen über Funde und ungewöhnliche Vorkommnisse werden ebenfalls im Microsoft Security Portal gemeldet.